2022年3月底的時候,老牌專案管理系統redmine終於釋出5.0版本,這個版本裡支持了較新的Ruby版本並基於Rails 6.1,讓redmine更安全也更有效率。
比較關鍵的功能亮點如2FA兩因素身份驗證、內建的mention功能(不再需要安裝redmine_mention plugin)、支援CommonMark Markdown語法(已經得到Github和Gitlab等組織認可)等…本次主題將透過docker-compose安裝新版redmine,並透過nginx reverse proxy提供外部服務以及如何在docker部署下替你的redmine安裝佈景主題與外掛,實驗架構的邏輯部分如下圖,由前端nginx提供ssl,將用戶需求轉至後端的redmine應用服務
安裝步驟
- 本例作業系統為RockyLinux 8.8
- docker版本為20.10.24、docker-compose版本為1.29.2
- redmine版本為v5.0.5
1. 如果你的主機上並沒有安裝docker和docker-compose,才需執行這個步驟
[root@host ~]# dnf install -y nano wget git
[root@host ~]# wget https://download.docker.com/linux/centos/docker-ce.repo
[root@host ~]# mv docker-ce.repo /etc/yum.repos.d/
[root@host ~]# dnf install -y docker-ce-20.10.24
[root@host ~]# systemctl enable docker && systemctl start docker

[root@host ~]# curl -L "https://github.com/docker/compose/releases/download/1.29.2/docker-compose-$(uname -s)-$(uname -m)" -o /usr/local/bin/docker-compose
[root@host ~]# chmod +x /usr/local/bin/docker-compose
[root@host ~]# docker-compose --version
docker-compose version 1.29.2, build 5bezea4c
2. 預設擺放redmine容器相關資料的資料夾,本例預設為/root/docker_home
[root@host ~]# mkdir -p ~/docker_home/redmine && cd ~/docker_home/redmine
[root@host redmine]# mkdir mysql redmine
[root@host redmine]# mkdir -p ./redmine/config
[root@host redmine]# touch ./redmine/config/configuration.yml
[root@host redmine]# nano docker-compose.yml
<docker-compose.yml>
version: '3.1'

services:

  redmine:
    image: redmine:5.0.5
    container_name: redmine
    restart: always
    ports:
      - 3000:3000
    environment:
      # REDMINE_DB_USERNAME defatul to root
      REDMINE_DB_MYSQL: redmine-mysql
      REDMINE_DB_PASSWORD: passowrd
      REDMINE_DB_ENCODING: utf8mb4
      REDMINE_DB_PORT: 3306
      TZ: Asia/Taipei
    volumes:
      - ./redmine/files:/usr/src/redmine/files
      - ./redmine/plugins:/usr/src/redmine/plugins
      - ./redmine/themes:/usr/src/redmine/public/themes
      - ./redmine/config/configuration.yml:/usr/src/redmine/config/configuration.yml
    depends_on:
      - redmine-mysql
    networks:
      - redmine-network

  redmine-mysql:
    image: mysql:5.7
    # 讓資料庫支援UTF8,否則redmine無法寫入中文
    command: ['--character-set-server=utf8mb4', '--collation-server=utf8mb4_unicode_ci']
    container_name: redmine-mysql
    restart: always
    environment:
      MYSQL_ROOT_PASSWORD: password
      MYSQL_DATABASE: redmine
    volumes:
      - ./mysql/mysql:/var/lib/mysql
    networks:
      - redmine-network

networks:
  redmine-network:
external: false- MySQL 映像檔解決UTF8中文支持問題,請參閱 https://juejin.cn/post/6966912301249069086
3. 此步驟為可選項,如果你的redmine有寄送信件的需求,比如使用者提醒或忘記密碼等功能,需要在configuration.yml中設定寄信的相關參數,這邊採用Gmail寄送信件的方案
[root@host ~]# nano ./redmine/config/configuration.yml
<configuration.yml>
default:
  email_delivery:
    delivery_method: :smtp
    smtp_settings:
      enable_starttls_auto: true
      address: smtp.gmail.com
      port: 587
      domain: gmail.com
      authentication: :login
      user_name: YourAccountName@gmail.com
      password: YourGoogleAppPassword
4. 啟動docker-compose相關容器,大約20秒內會啟動完畢
[root@host ~]# docker-compose up -d
[root@host redmine]# docker-compose ps
Name                   Command               State                    Ports
-------------------------------------------------------------------------------------------------
redmine         /docker-entrypoint.sh rail ...   Up      0.0.0.0:3000->3000/tcp,:::3000->3000/tcp
redmine-mysql   docker-entrypoint.sh mysqld      Up      3306/tcp, 33060/tcp
5. 這裡我們預設你的前端主機已經安裝好nginx、配置好相關ssl憑證、並已於DNS設定好了a record的指向,關於website的配置檔案,請注意以下location的設定部分,proxy_pass後面接的是redmine容器暴露的主機ip位址和端口,此處參照nginx官方的 redmine recipe 和redmine官方的 HowTo configure Nginx to run Redmine
        server_name test-redmine.example.com;
        location / {
                try_files $uri @redmine;
        }

        location @redmine {
                proxy_set_header   Host $http_host;
                proxy_set_header   X-Real-IP $remote_addr;
                proxy_set_header   X-Forwarded-For $proxy_add_x_forwarded_for;
                proxy_set_header   X-Forwarded-Proto $scheme;
                proxy_pass http://192.168.88.220:3000;
        }
6. 瀏覽器開啟並登入redmine網址 https://test-redmine.example.com
誒,不是,怎麼那麼醜!這是民國幾年的產品啊,跟文章封面我看到的不一樣RRR,不要懷疑!10幾年前redmine就長這樣,10幾年後還真的是一點長進都沒有,不過我們稍晚會透過redmine的theme功能來改善這個部分
7. 右上角先登入,輸入admin預設的密碼admin來進行初次的管理員密碼變更
8. 來到網站管理>設定>一般,將主機域名和web協定填寫後儲存,由於有些外掛是會讀取系統相關參數才得以正確運行,如果沒有這個配置,之後在安裝外掛的時候可能會有無法正常顯示的問題
- 文字格式可以考慮從redmine自有規格Textile改成現今流行的markdown,統一組織內的資訊撰寫格式
9. API要打開,才能讓第三方軟體可以介接(比如手機上的 RedminePM APP)
醜不拉機改頭換面之安裝 Theme
1. 於redmine容器資料夾中下載喜歡的 redmine佈景主題,本例為fluentmine
[root@host ~]# cd redmine/themes
[root@host themes]# wget https://github.com/farend/redmine_theme_farend_bleuclair/archive/refs/heads/master.zip
[root@host themes]# unzip master.zip
[root@host themes]# mv redmine_theme_farend_bleuclair-master fluentmine
[root@host themes]# rm -f master.zip
2. 來到網站管理>設定>顯示,將畫面主題更換為我們剛剛下載的fluentmine後儲存
3. 一個稍微能上檯面的專案管理平台就橫空出世啦
- 本文封面所使用的theme名稱是Redmine-X Theme,商業皮膚、需要付費,有興趣的人可以參考看看,坦白說這軟體,不像blogger、Wordpreess、phpBB…好看的第三方佈景都要花錢~
外掛的安裝與移除
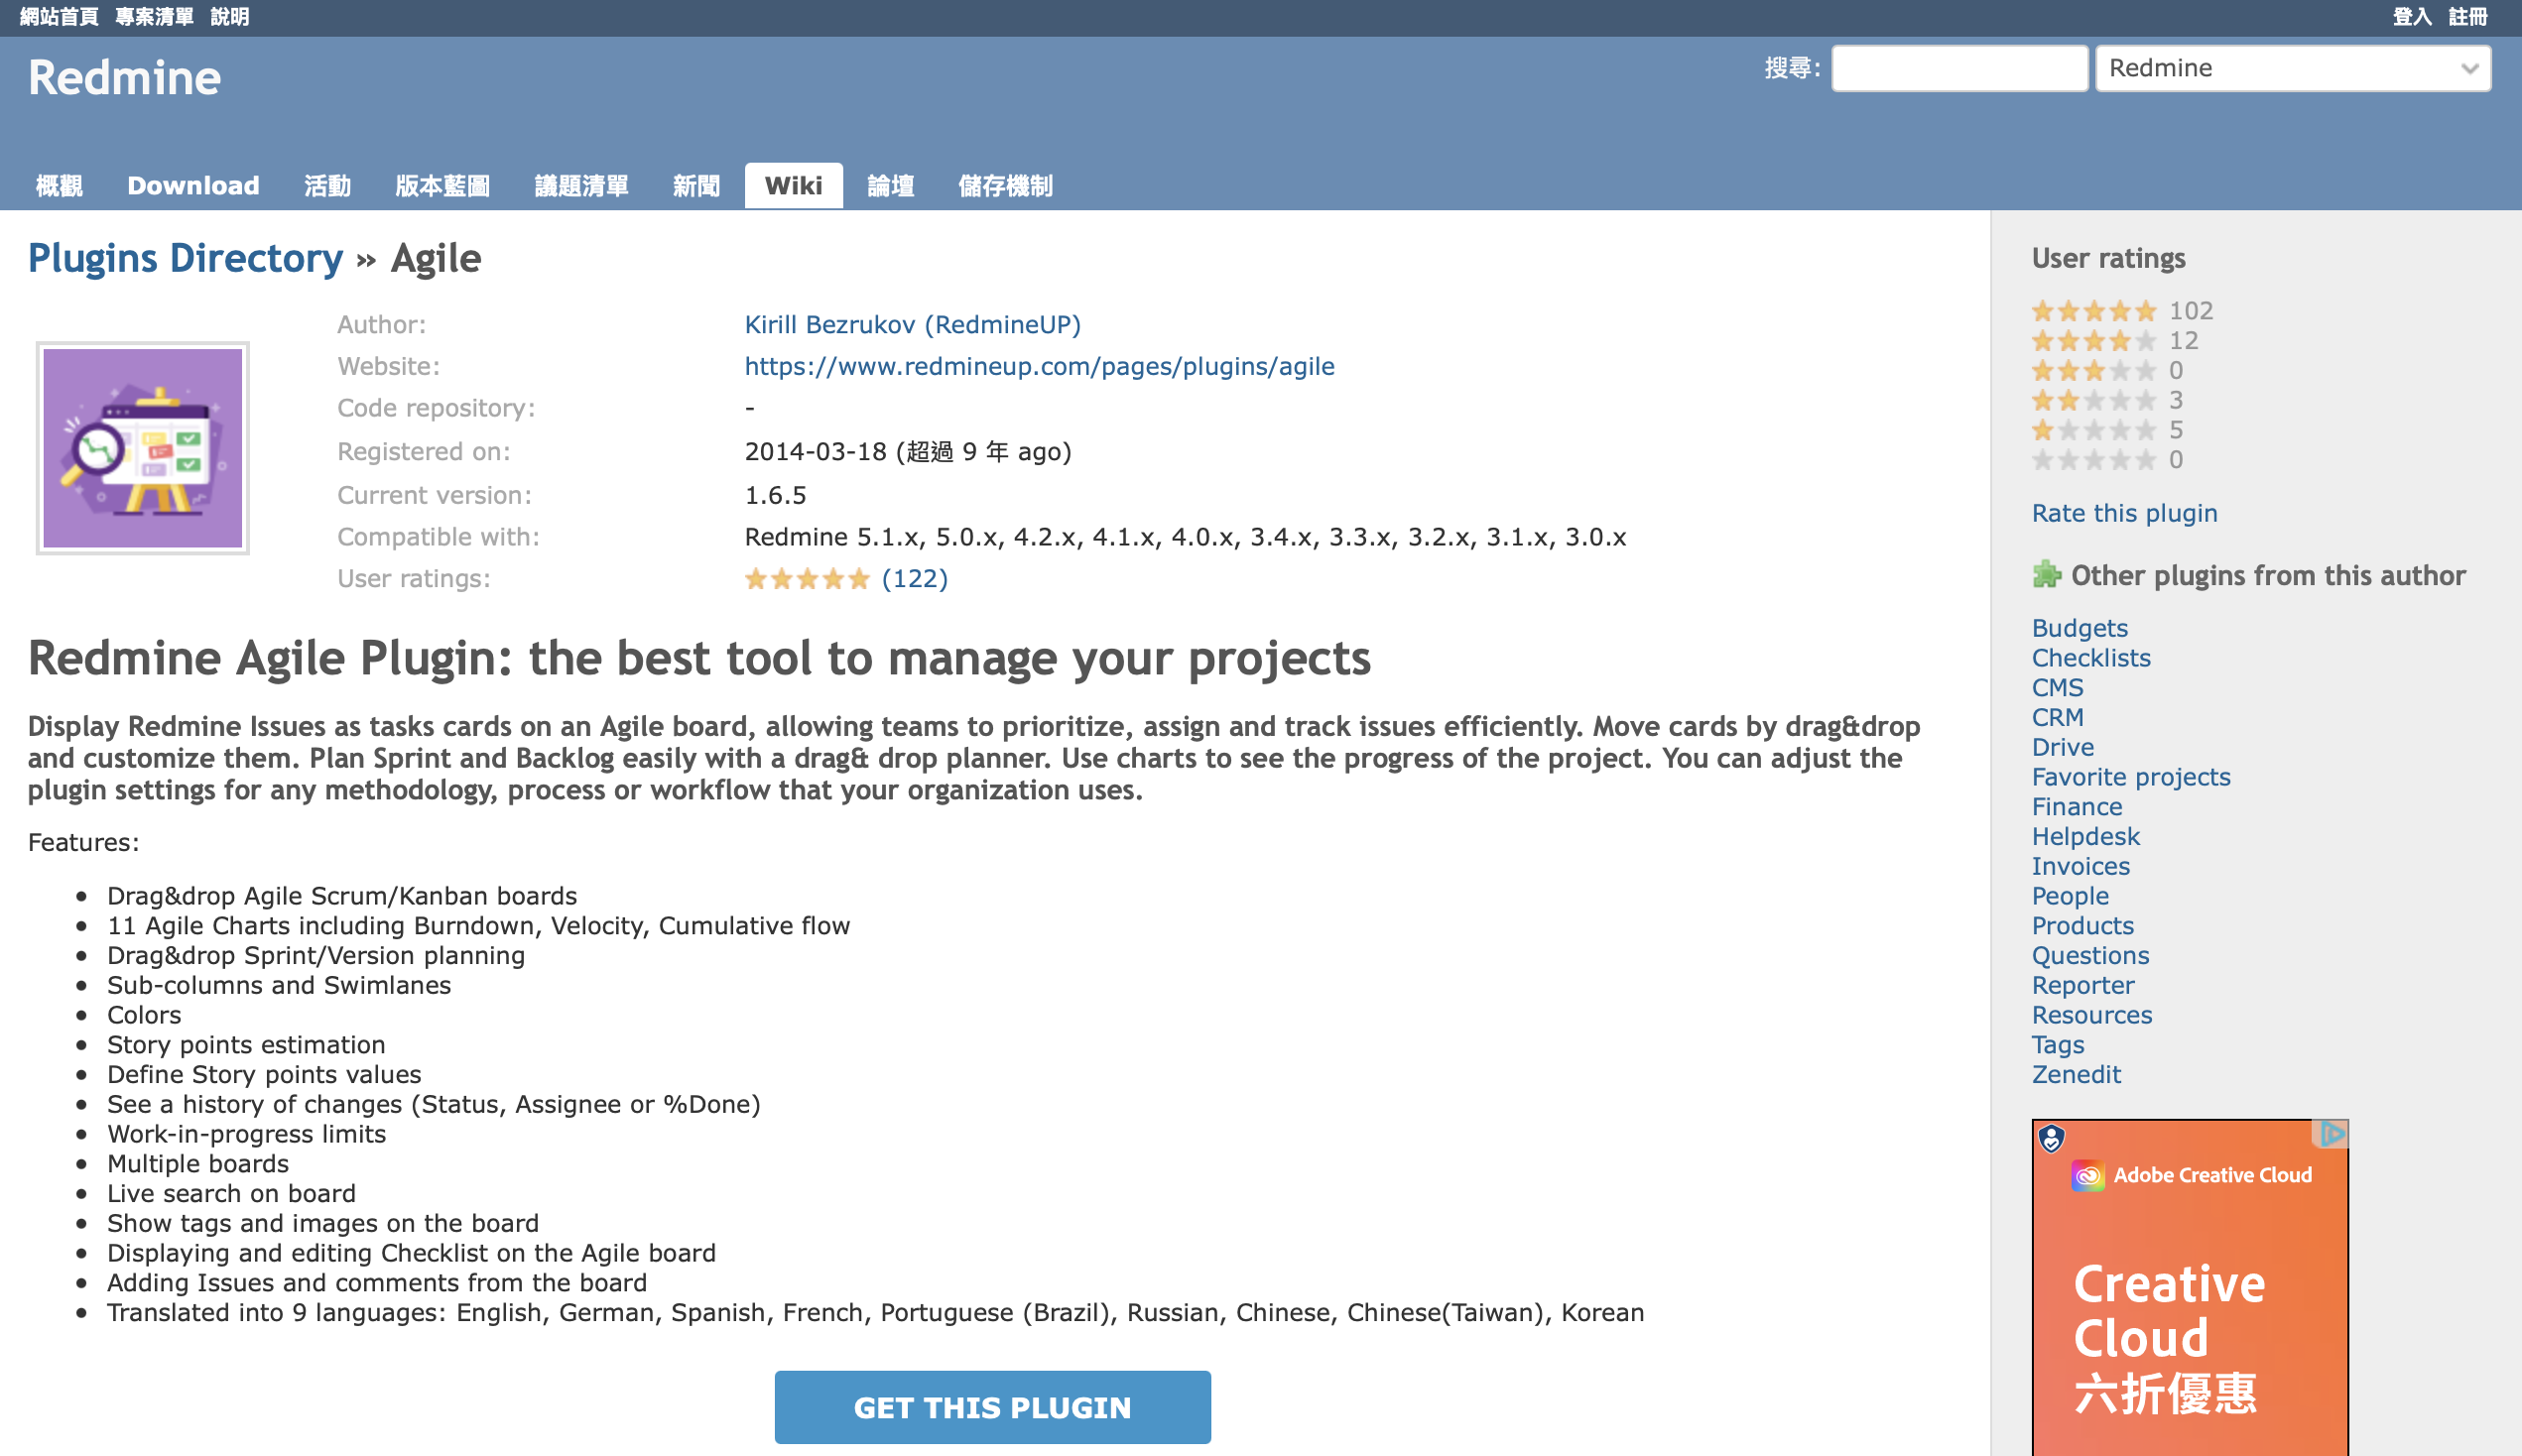
1. 前往官方網站找到agile外掛 https://www.redmine.org/plugins/redmine_agile ,點擊下方GET THIS PLUGIN
2. 該外掛是由RedmineUP開發,點擊左方免費版,需要輸入「非免費信箱」收取下載連結網址
3. 將下載的壓縮檔放入plugins目錄並進行依賴套件安裝與外掛安裝
[root@host ~]# cd ~/docker_home/redmine/redmine/plugins
[root@host plugins]# wget http://email.redmineup.com/c/eJyEz82KrDAQhuGr
[root@host plugins]# unzip eJyEz82KrDAQhuGr && rm -f eJyEz82KrDAQhuGr
[root@host plugins]# ls
redmine_agile

[root@host plugins]# cd ~/docker_home/redmine
[root@host redmine]# docker exec -it redmine bundle install --without development test RAILS_ENV=production
[root@host redmine]# docker exec -it redmine bundle exec rake redmine:plugins NAME=redmine_agile RAILS_ENV=production
[root@host redmine]# docker-compose restart redmine
4. 前往redmine管理後台果然看到了剛剛安裝的Agile外掛
5. 需要到專案設定把新裝好的agile的模組給打開
6. 通常在安裝大多數外掛後,還需要到admin管理後台、對角色的部分給予適當的行為權限
7. 然後我們就可以使用敏捷看板囉~
8. 要移除外掛也很簡單,以下的指令中,將plugin_name改為你的外掛名稱,比如這次我們安裝的「redmine_agile」,然後移除外掛目錄並重啟redmine即可
[root@host ~]# cd ~/docker_home/redmine
[root@host redmine]# docker exec -it redmine bundle exec rake redmine:plugins:migrate NAME=plugin_name VERSION=0 RAILS_ENV=production
[root@host redmine]# rm -rf ./redmine/plugins/redmine_agile
[root@host redmine]# docker-compose restart redmine
後話
頭像功能特別對於Redmine我認為是非常實用的,如果有這個需求的同學,可以安裝redmine_local_avatars或RedmineUP出品的 「redmine_people」外掛來取代。
至於其他實用的外掛,我推薦的有「redmine_agile」、「redmineup_tags」、「redmine_checklists」和「redmine_questions」,基本都是RedmineUP公司出品的付費插件,其釋出的免費Lite版本多少被閹割掉不少功能,但仍能為你的Redmine增色不少,以上給大家參考!下一集,將介紹如何管理配置你的Redmine。
推薦閱讀:
Redmine-TW 繁體中文推廣計畫
專案管理平台 Zentao禪道-Docker部署、使用導覽
專案管理平台 Jira-雲端版本的使用導覽


0 Comments:
張貼留言