繼前一篇Redmine V3.4.7安裝教學後,雖然原本的Redmine作為專案管理系統或者是工單系統已經很好用了,但在社群上仍有許多熱血玩家提供的
plugins外掛來為Redmine提供更多好用的功能,以下將透過「
RedmineLocalAvatars」這個自訂頭像的外掛安裝來展示
本文所架設版本環境如下:
- CentOS Linux release 7.6.1810 (Core)
- Apache 2.4
- Apache Passenger 6.0.0
- Ruby 2.4.5
- Redmine 3.4.7.stable
- Redmine Folder Path: /var/www/redmine
1. 前往github下載外掛
[root@centos76 ~]# export REDMINE=/var/www/redmine
[root@centos76 ~]# cd $REDMINE
[root@centos76 redmine]# cd plugins
[root@centos76 plugins]# wget https://github.com/ncoders/redmine_local_avatars/archive/master.zip
[root@centos76 plugins]# unzip master.zip
[root@centos76 plugins]# mv redmine_local_avatars-master redmine_local_avatars
[root@centos76 plugins]# chown -R apache:apache ./redmine_local_avatars
2. 安裝外掛
[root@centos76 plugins]# cd $REDMINE
[root@centos76 redmine]# bundle install --without development test
[root@centos76 redmine]# RAILS_ENV=production rake redmine:plugins:migrate
[root@centos76 redmine]# systemctl restart httpd
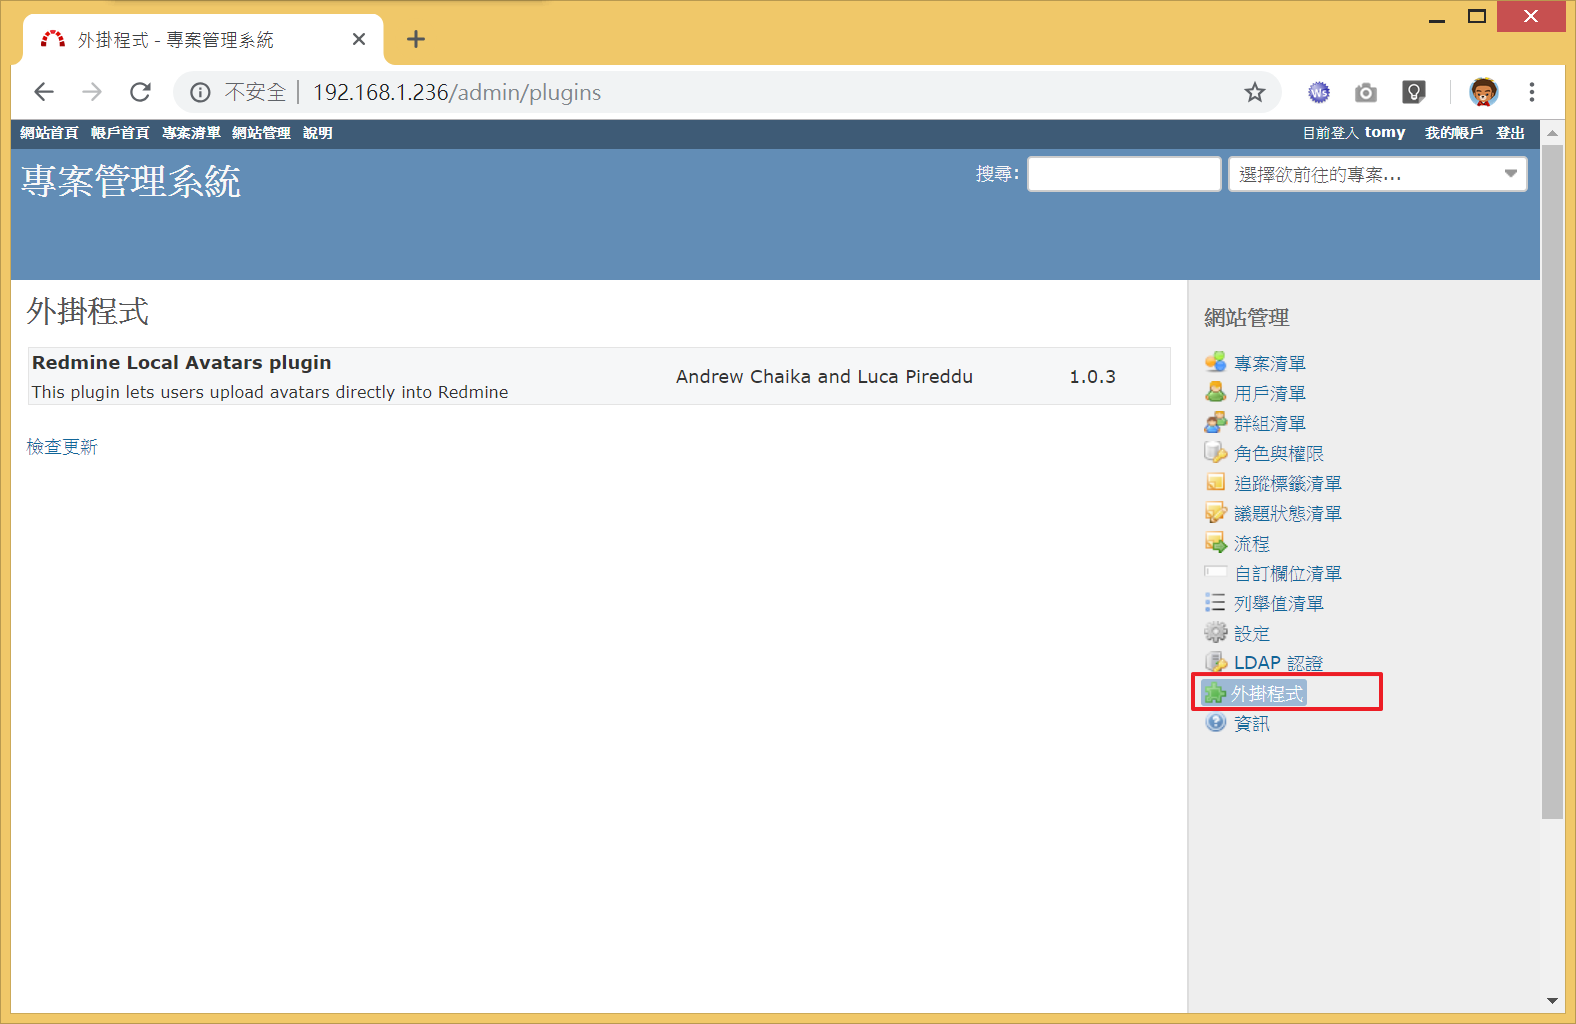
3. remdine後台plugins設定,果然多了一個新項目
4. 編輯會員資料,選取「頭像」的功能
5. 上傳你的圖像並儲存
6. 自訂頭像功能已經實現!
來自台灣的系統工程師,一直熱衷於 Open source 相關技術的學習、建置、應用與分享。


0 Comments:
張貼留言