nginx是一款近年來熱門的網頁服務,比起apache來說,普遍地認為可以更輕量的承載更高的併發連接數,自2010年起nginx的市佔從不到5%攀升到了33%,除了網頁服務以外,nginx也能透過upstream模塊提供負載平衡功能,可以說是優點多多。
這次選擇CentOS 7.4x64作業系統來進行Nginx version 1.12.2的安裝,主因是這個版本預設已經將openSSL提升至1.0.2k,免去了Heartbleed的重大BUG困擾,安裝步驟與筆記紀錄如下:
【假設資料】
伺服器規格:Xeon E5-2420/128GB/SSD600Gx4(RAID10)
伺服器合法網域名稱:www.tomyhome.com
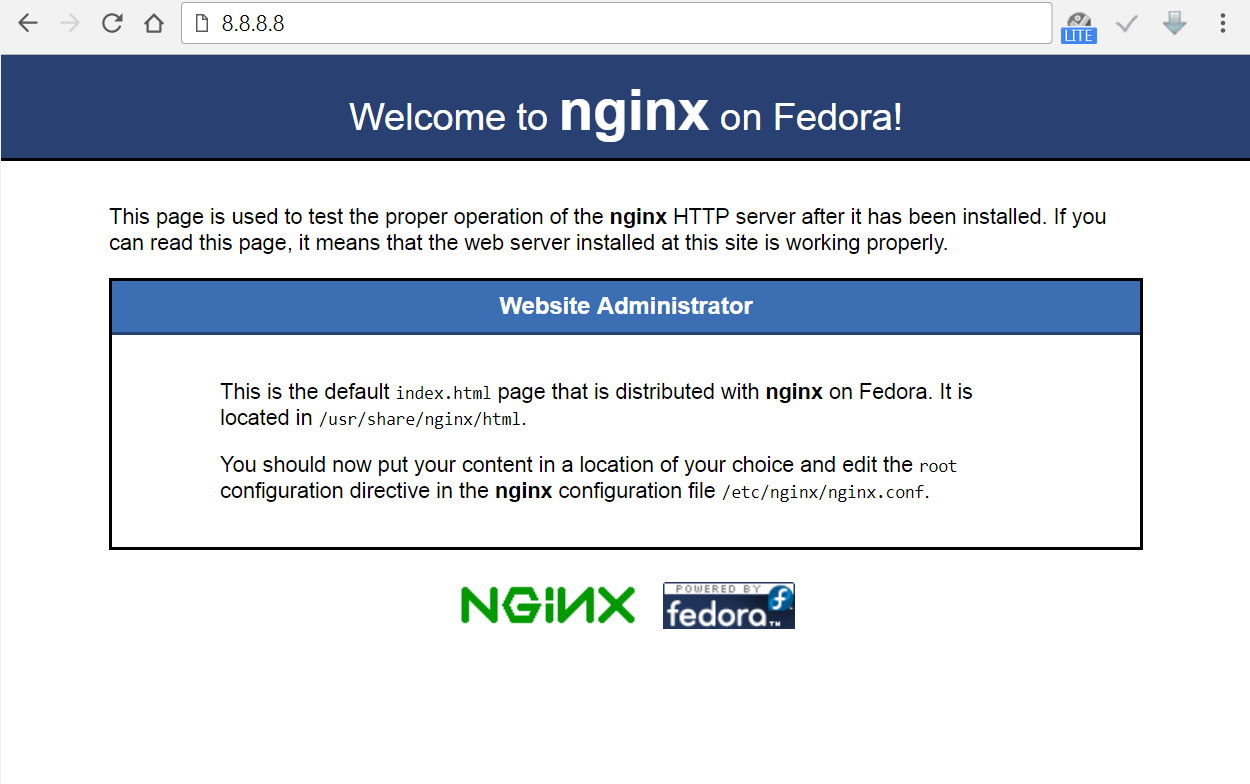
伺服器對外IP:8.8.8.8
期望平均承載量:平均在線4000人
期望瞬間承載量:最高瞬間連線數量2000人
Step 1 安裝EPEL套件庫
[root@centos7 ~]# rpm -ivh http://dl.fedoraproject.org/pub/epel/7/x86_64/Packages/e/epel-release-7-11.noarch.rpm
Step 2 透過epel源安裝nginx 1.12.2 並設定開機啟用
[root@centos7 ~]# yum install nginx
[root@centos7 ~]# systemctl enable nginx
Step 3 修訂你的nginx設定檔
[root@centos7 ~]# nano /etc/nginx/nginx.conf
# For more information on configuration, see:
#   * Official English Documentation: http://nginx.org/en/docs/
#   * Official Russian Documentation: http://nginx.org/ru/docs/

user nginx;
# 預設為auto,此處參照伺服器本身的cpu線程數來設定
worker_processes 24;
# nginx最多能打開的文件描述符數量,通常對其linux核心參數指令ulimit -n的數量
worker_rlimit_nofile 819200;
# errorLOG紀錄檔的位址,後贅不加的話所有程度的訊息都會紀錄,此例只記錄嚴重程度的訊息
#error_log  /var/logs/error.log;
#error_log  /var/logs/error.log  notice;
#error_log  /var/logs/error.log  info;
error_log /var/log/nginx/error.log  crit;
pid /run/nginx.pid;

# Load dynamic modules. See /usr/share/nginx/README.dynamic.
include /usr/share/nginx/modules/*.conf;

# 理論上每台nginx服務器的最大連接數為worker_processes*worker_connections。
events {
    use epoll;   # epoll 網絡IO模型,有利於處理大量連接的讀寫(高併發)
    worker_connections 20480;
}


http {
    # LOG記載的格式
    log_format  main  '$remote_addr - $remote_user [$time_local] "$request" '
                      '$status $body_bytes_sent "$http_referer" '
                      '"$http_user_agent" "$http_x_forwarded_for"';
    # http服務存取的LOG記載路徑位址
    access_log  /var/log/nginx/access.log  main;

    server_tokens      off; # 隱藏nginx版本號
    sendfile            on; # 靜態文件加速功能
    tcp_nopush          on; # 這個選項只有在sendfile啟用時才有作用
    tcp_nodelay         on; # 啟用後會進用 Nagle 算法,盡快發送數據
    keepalive_timeout   65; # 連接超時的時間
    types_hash_max_size 2048;
    client_max_body_size 50M; # 設定client最多可以傳送多少資料,超過會顯示413 error
    server_names_hash_bucket_size 128; # 配置多個虛擬web站台時需要增加,預設是32

    gzip on; # 網站啟用gzip壓縮功能,至少節省一半資料傳輸量,有效提升用戶瀏覽速度
    gzip_min_length  2048; # 原始頁面大於多少size才進行壓縮,小於1k壓縮後可能會超過1k
    gzip_buffers   4 16k;
    gzip_comp_level     5; # gzip壓縮比,1最低、9最高但最耗cpu運算資源
    gzip_http_version 1.1; # 定義HTTP協議版本進行壓縮,默認http_version 1.1
    gzip_vary          on; # 是否在 Response Header插入Accept-Encoding 讓用戶識別
    gzip_disable  "MSIE [1-6]\."; # 官方建議關閉對ie6含以下的gzip功能
    # 指定需要壓縮的 MIME types,或用 * 表示所有 MIME types
    gzip_types       text/plain text/css application/json application/x-javascript text/xml application/xml application/xml+rss text/javascript;

    include             /etc/nginx/mime.types;
    default_type        application/octet-stream;

    # 一台主機架設多個虛擬web站台時,可以將其他domain name的網站設定檔置於以下路徑
    include /etc/nginx/conf.d/*.conf;

    server {
        listen       80 default_server;
        listen       [::]:80 default_server;
        # 設定server_name為底線將會禁止client端使用未定義主機名的請求(例如ip)
        server_name  _;
        # 網站的實體目錄位置
        root         /usr/share/nginx/html;

        # Load configuration files for the default server block.
        include /etc/nginx/default.d/*.conf;

        location / {
            index  index.html index.htm;
        }

        error_page 404 /404.html;
            location = /40x.html {
        }

        error_page 500 502 503 504 /50x.html;
            location = /50x.html {
        }
    }

}
Step 4 新增你的website設定檔(需已申請合法domain name並設置好A record)
[root@centos7 ~]# nano /etc/nginx/conf.d/www.tomyhome.com.conf
 server
 {
                # 監聽tcp80端口
                # 並提升連接隊列(backlog默認是511)以避免高併發時出現502錯誤
                listen       80 backlog=8192;
                server_name  www.tomyhome.com;
                error_page 405 =200 $uri #解決Post Method: 405 Method not allowed問題

                root /var/www/html;
                index index.htm index.html;

                charset utf-8;
                expires  2h;
                error_page 404 /404.html ;
                location = /404.html {
                        root /usr/share/nginx/html/;
                }

                # 啟用nginx內建status工具並設置可閱覽白名單IP
                location /status {
                    stub_status on;
                    access_log off;
                    allow 10.10.10.10;
                    deny all;
                }
                error_page 403 /403.html ; # 該檔案需自行創建!
                location = /403.html {
                        root /usr/share/nginx/html/;
                }

                location ~ .*\.swf$ {
                         expires       72h;
                }
                location ~ .*\.(css|js|jpg|gif|png)$ {
                         expires       96h;
                }
                location ~ .*\.xml$ {
                         expires       12h;
                }
                location ~ .*\.mp3$ {
                         expires       256h;
                }
                # 基於主機安全,禁止被存取相關副檔名
                location ~* \.(sh|xls|tar|gz|exe|sql) {  root ~; deny all; }
 }
Step 5 修訂linux系統核心參數以配合nginx在高併發時的所需的資源
[root@centos7 ~]# nano /etc/security/limits.d/20-nproc.conf
# Default limit for number of user's processes to prevent
# accidental fork bombs.
# See rhbz #432903 for reasoning.
* soft nproc 409600
* hard nproc 409600
#root soft nproc unlimited
- process程序上限
- 系統預設用來限制各用戶可使用的程序數量(*代表所有users、含system service)
[root@centos7 ~]# nano /etc/security/limits.conf
* soft memlock 256
* hard memlock 256
* soft nofile 819200
* hard nofile 819200
* soft core unlimited
* hard core unlimited
* soft sigpending 102400
* hard sigpending 102400
- nofile可理解為用戶可開啟檔案的最大數量限制(實際為file descriptors的最大數量限制)
- 有別於20-nproc.conf,limits.conf只限於透過PAM機制登入的用戶,而不限於system service
[root@centos7 ~]# nano /etc/sysctl.conf
# For more information, see sysctl.conf(5) and sysctl.d(5).
kernel.pid_max = 102400
fs.file-max = 2048000
fs.nr_open = 2048000
net.core.somaxconn = 102400
net.ipv4.tcp_max_syn_backlog = 102400
net.core.netdev_max_backlog = 102400
net.ipv4.tcp_syncookies = 1
net.ipv4.tcp_tw_recycle = 1
net.ipv4.tcp_tw_reuse = 1
net.ipv4.tcp_max_tw_buckets = 10240
- max user processes的值,最後是受全局的kernel.pid_max的值所限制
- file-max是內核可分配的最大文件數
- nr_open是單一程序可分配的最大文件數
- net.core.somaxconn 定義全局所有端口最大監聽隊列長度
- net.ipv4.tcp_max_syn_backlog 半連接隊列長度上限
- net.ipv4.netdev_max_backlog 網路端口允許的隊列上限
- net.ipv4.tcp_syncookies啟用後可防止syn flood attack
- net.ipv4.tcp_tw_recycle表示開啟tcp連接中time-wait socket的快速回收
- net.ipv4.tcp_tw_reuse允許將time-wait socket重新用於新的tcp連接
Step 6 設定防火牆放行規則後重開機讓linux核心參數生效
[root@centos7 ~]# firewall-cmd --add-port=80/tcp --permanent
success
[root@vnc ~]# firewall-cmd --add-port=443/tcp --permanent
success
[root@centos7 ~]# firewall-cmd --reload
success
[root@centos7 ~]# reboot
Step 7 檢查linux系統核心參數是否生效
[root@centos7 ~]# cat /proc/sys/kernel/pid_max
102400
[root@centos7 ~]# cat /proc/sys/fs/file-max
819200
[root@centos7 ~]# cat /proc/sys/fs/nr_open
10240000
[root@centos7 ~]# ulimit -a
core file size          (blocks, -c) unlimited
data seg size           (kbytes, -d) unlimited
scheduling priority             (-e) 0
file size               (blocks, -f) unlimited
pending signals                 (-i) 102400
max locked memory       (kbytes, -l) 256
max memory size         (kbytes, -m) unlimited
open files                      (-n) 819200
pipe size            (512 bytes, -p) 8
POSIX message queues     (bytes, -q) 819200
real-time priority              (-r) 0
stack size              (kbytes, -s) 8192
cpu time               (seconds, -t) unlimited
max user processes              (-u) 409600
virtual memory          (kbytes, -v) unlimited
file locks                      (-x) unlimited
Step 8 驗明正身,由於CentOS 7.4x64已經將Openssl預設為10.02k-fips版本,剛好就和EPEL下載的nginx/1.12.2打包的環境相同,至於其他打包的參數有需要再參考即可。
[root@centos7 ~]# openssl version
OpenSSL 1.0.2k-fips  26 Jan 2017
[root@centos7 ~]# nginx -V
nginx version: nginx/1.12.2
built by gcc 4.8.5 20150623 (Red Hat 4.8.5-16) (GCC)
built with OpenSSL 1.0.2k-fips  26 Jan 2017
TLS SNI support enabled
configure arguments: --prefix=/usr/share/nginx --sbin-path=/usr/sbin/nginx --modules-path=/usr/lib64/nginx/modules --conf-path=/etc/nginx/nginx.conf --error-log-path=/var/log/nginx/error.log --http-log-path=/var/log/nginx/access.log --http-client-body-temp-path=/var/lib/nginx/tmp/client_body --http-proxy-temp-path=/var/lib/nginx/tmp/proxy --http-fastcgi-temp-path=/var/lib/nginx/tmp/fastcgi --http-uwsgi-temp-path=/var/lib/nginx/tmp/uwsgi --http-scgi-temp-path=/var/lib/nginx/tmp/scgi --pid-path=/run/nginx.pid --lock-path=/run/lock/subsys/nginx --user=nginx --group=nginx --with-file-aio --with-ipv6 --with-http_ssl_module --with-http_v2_module --with-http_realip_module --with-http_addition_module --with-http_xslt_module=dynamic --with-http_image_filter_module=dynamic --with-http_geoip_module=dynamic --with-http_sub_module --with-http_dav_module --with-http_flv_module --with-http_mp4_module --with-http_gunzip_module --with-http_gzip_static_module --with-http_random_index_module --with-http_secure_link_module --with-http_degradation_module --with-http_slice_module --with-http_stub_status_module --with-http_perl_module=dynamic --with-mail=dynamic --with-mail_ssl_module --with-pcre --with-pcre-jit --with-stream=dynamic --with-stream_ssl_module --with-google_perftools_module --with-debug --with-cc-opt='-O2 -g -pipe -Wall -Wp,-D_FORTIFY_SOURCE=2 -fexceptions -fstack-protector-strong --param=ssp-buffer-size=4 -grecord-gcc-switches -specs=/usr/lib/rpm/redhat/redhat-hardened-cc1 -m64 -mtune=generic' --with-ld-opt='-Wl,-z,relro -specs=/usr/lib/rpm/redhat/redhat-hardened-ld -Wl,-E'
- 透過chrome瀏覽器連接、確認我們的網頁服務已經啟用了!
Nginx 專題系列文章
本文內容參閱以下連結:DevOps達人
鳥歌的Linux私房菜
InfoQ
51CTO博客
JerryQu的小站
nginx‧Gitbook
Tuning NGINX for Performance
Nginx基於gzip壓縮配置參數(Ngx_http_gzip_module)
Apache2 / Nginx 啟用壓縮(gzip) 於 IE6 的問題說明
Nginx HTTP Post Method: 405 Method not allowed錯誤
來自台灣的系統工程師,一直熱衷於 Open source 相關技術的學習、建置、應用與分享。


0 Comments:
張貼留言